Unlike most add-ins for Geotab, the RoscoLive add-in is a simple and seamless process that doesn't require you to copy/paste any configuration files or worry about setting up notification webhooks to get things running, we do all of that for you! Follow these few easy steps to get your integration up and running.
How It Works
- Geotab GO device generates an exceptions and sends it to MyGeotab
- MyGeotab sends a web-request to RoscoLive for the Exception video
- RoscoLive requests the video from the DV6 Camera
- DV6 camera uploads requested video to RoscoLive
- The video clip and/or snapshot is now available for viewing via MyGeotab in the RoscoLive add-in
Setup
The following details the steps needed to get the RoscoLive add-in integrated properly into your MyGeotab database. Please follow these steps carefully.
Create An Integration Service Account
First step is to create an integration service account in your MyGeotab database. A service account is a set of dedicated user credentials that are not used by a human and is solely used by the RoscoLive add-in.
For the best and most secure experience, please use the following guidelines when creating service credentials for your database:
- For email use the following template: service-RoscoLive@[your-database]
- An example would be if your MyGeotab database name was acme-trucks then the service credential email would be: service-RoscoLive@acme-trucks
- Select Basic Authentication for user Authentication Type
- Select No for option "Force password change on login"
- Select Administrator for user Security Clearance
- Select Everything for Data Access
Requirements for password are:
- Use a minimum of 12 characters
- Contains an upper-case letter
- Contains a lower-case letter
- Contains a number
- Contains a symbol, like $ or @
If your database uses any sort of password policy please ensure you make an exception for this account.
Do NOT change the login credentials for this account as you risk breaking the integration between RoscoLive and your MyGeotab database.
Adding The RoscoLive Add-In To Your Database
After setting up the service account credentials you are now ready to integrate RoscoLive into your MyGeotab database.
An automated email will be sent to the point-of-contact email provided for integration with a link. Click the link in the email.
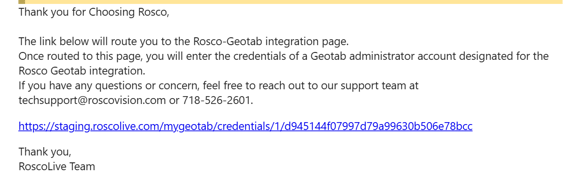
A new tab will open in your browser to the following page. Enter your company's database name and the service account credentials you made in the last section. Do not use any set of credentials that is in use by a person.
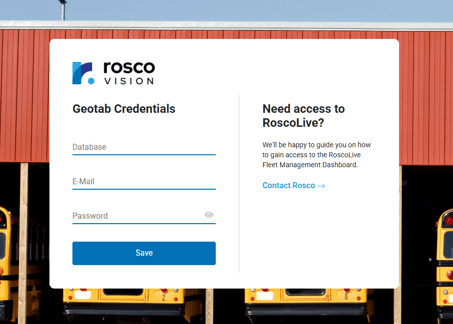
After clicking Save, a success message will appear and your RoscoLive add-in will now appear in your MyGeotab database! You may have to refresh your browser page to see the add-in appear.
If you do not see a success message or see an error message instead, please double check your credentials are correct and try again.
Enable the Add-In

Next Steps
Now that you have the RoscoLive add-in added to your MyGeotab database, the next steps are to pair your cameras to your GO devices and setup web request notifications for your Rules! Please follow the links below to the relevant guides on how to do just that:
Setup web request notifications for Rules
Network Firewall Configuration
Sometimes, the firewall for the network you are accessing the internet from will block certain traffic related to the operation of RoscoLive and cause some features, mainly live streaming, from functioning properly. You can easily test if this is the case by connecting to another network outside of the one you are having issues with and seeing if you can live stream successfully. If you are able to live stream successfully in another network then this means the firewall is blocking traffic needed for the add-in. Please consult your router settings or contact your IT networking team to apply the firewall filters.
The firewall must whitelist the following in order to allow the appropriate traffic for the RoscoLive add-in:
- [*.]roscolive.com
- Ports 80 , 443, and 8080