
Format SD Card
IMPORTANT
FOR ALL DV RECORDERS, IN ORDER TO MAINTAIN PEAK PERFORMANCE, THE SD CARD MUST BE REFORMATTED EVERY SIX MONTHS. SD CARD FORMATTING MUST BE DONE USING DV-PRO5 ONLY. USING THE PC’s DEFAULT FORMATTER OR A THIRD-PARTY TOOL WILL RENDER THE SD CARD UNUSABLE BY THE DVXC4 RECORDER. SD CARDS DO WEAR OUT FROM USAGE FACTORS SUCH AS NUMBER OF RE-WRITES AND ENVIRONMENTAL CONDITIONS. THEREFORE, IT IS VERY IMPORTANT THAT THE SD CARDS BE REPLACED EVERY 2.5 YEARS OR 6,750 RECORDING HOURS, WHICHEVER COMES SOONER.
Instructions
DV-PRO 5 Formatting
Step 1
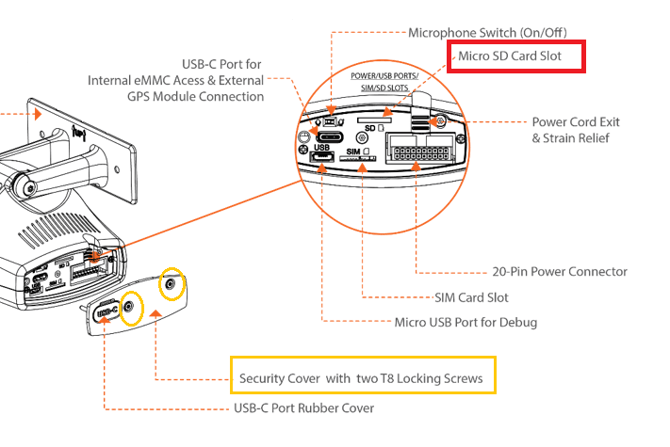
Remove the SD card from the camera. For details on how to remove the SD card from DV4 recorder, please refer to SD Card Installation & Removal.
For DV6 and DV7 recorders, use the security Torx wrench provided by Rosco to access and remove the side panel. Then press the SD card gently to release it from the slot, remove it, and insert it into your PC. Do not press the card too firmly, as it may eject forcefully from the recorder.
Step 2
Open the DV-PRO 5 Player. If the player is not installed, refer to DV-PRO5.
Step 3
Click the “Format SD” button on the bottom right.
Step 4
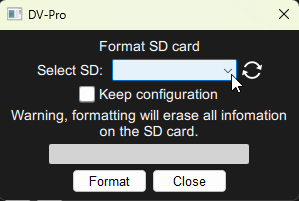
In the pop-up window, select your SD card from the drop-down menu.
Warnings:
-
formatting will erase all information on the SD card.
-
Unless the configuration file is corrupted, check the “Keep Configuration” box.
Step 5
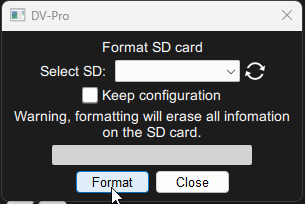
Click the “Format” button to start the process.
Step 6
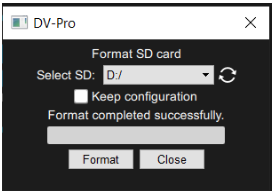
When the process is finished, the following information will show:
Detailed instructions for using the DV-PRO5 software are available in the DV-PRO5 User Manual here.